
Transfer between stores
Main → Operations → + → Transfer
Running more than one location — say a Warehouse feeding Shop 2? A Transfer operation (Move between stores) takes goods out of one store and into another in a single step, so nothing is ever “in between” or counted twice.
-
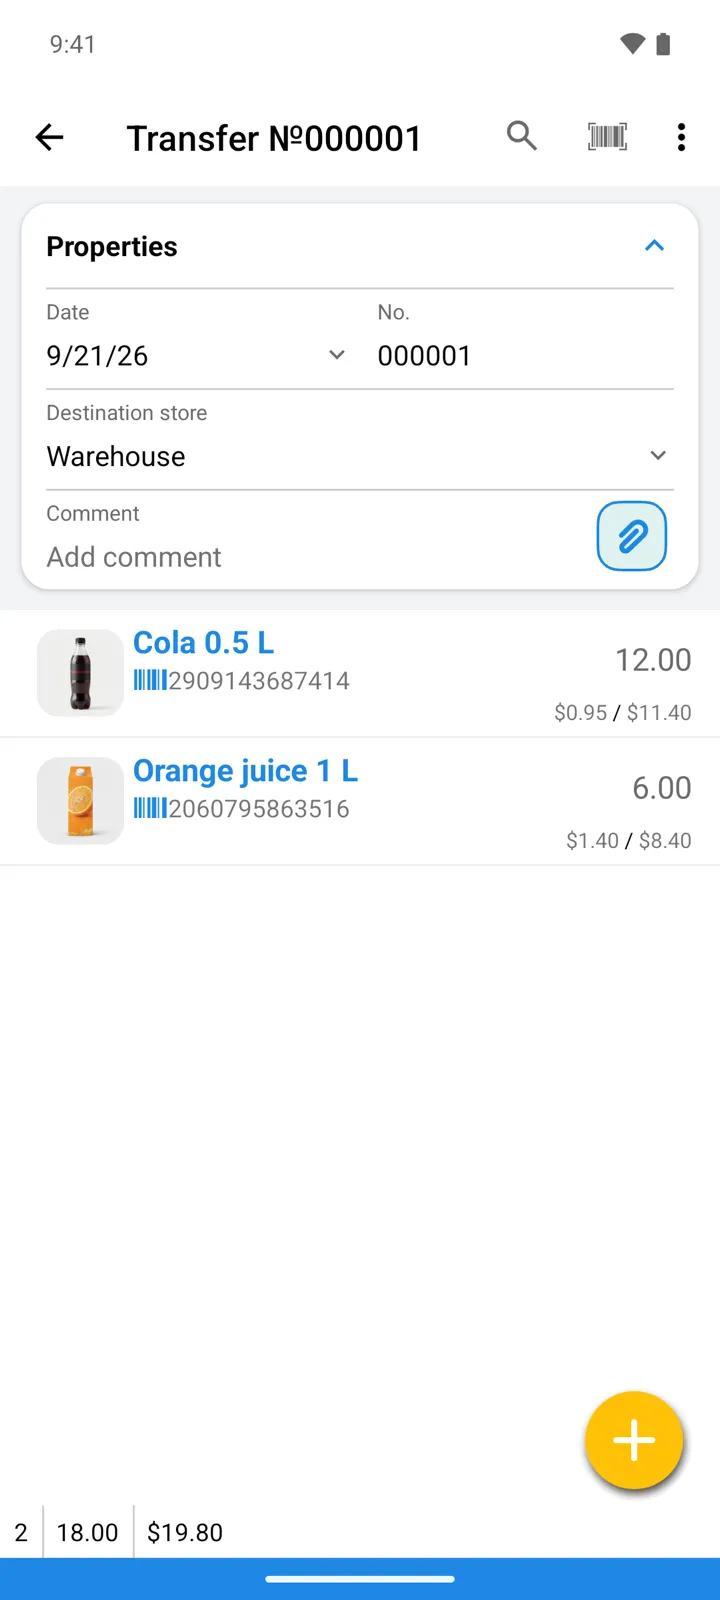
Open Operations, tap +, choose Transfer. (Transferring often? Put a New Transfer card on the main screen via Main screen layout and start one in a single tap.)
-
Goods move out of the store you’re currently working in (set with Select store); the app asks you to pick the destination store. In All Stores mode it asks for the source store too.
-
Add the items being moved: tap the big yellow + button to open your goods list, find each item (search, or tap the barcode icon in the search field to scan), and enter the quantity to move.
-
Save. The source store’s quantities go down, the destination’s go up.
Moving a single item
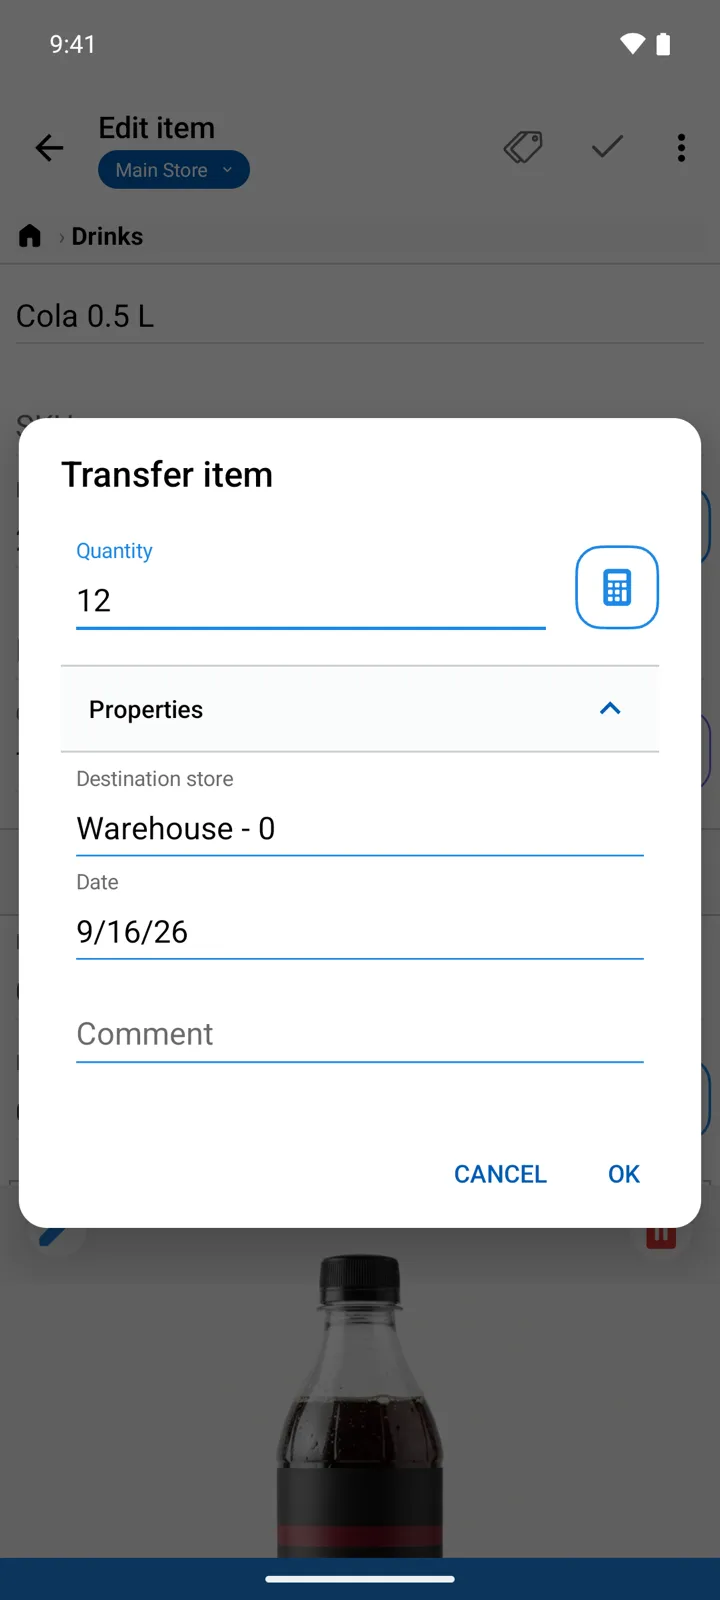
Section titled “Moving a single item”For a one-off move, open the item in Goods and use its transfer button: the Transfer item dialog asks for the destination store and quantity, and records the Transfer operation for you behind the scenes.
Good to know
Section titled “Good to know”- Transfers need at least two stores — manage them on the Stores screen.
- By default a transfer can’t take the source store below zero — the same guard as sales (lifted by Allow negative quantity in stock in Settings → Goods properties).
- Transfer operations have no supplier/customer field — they’re internal movements.
- Online: a user needs access to both stores to transfer between them — store access is ticked per user on their card, and what they may do there comes from their profile.