Quick start
This walkthrough uses StoDo Online. In StoDo Simple everything is the same except step 1 — there is no sign-in.
-
Install and sign in. Install StoDo Online and sign in with your Google account. Your database is created in the cloud and will follow you to any device you sign in on.
-
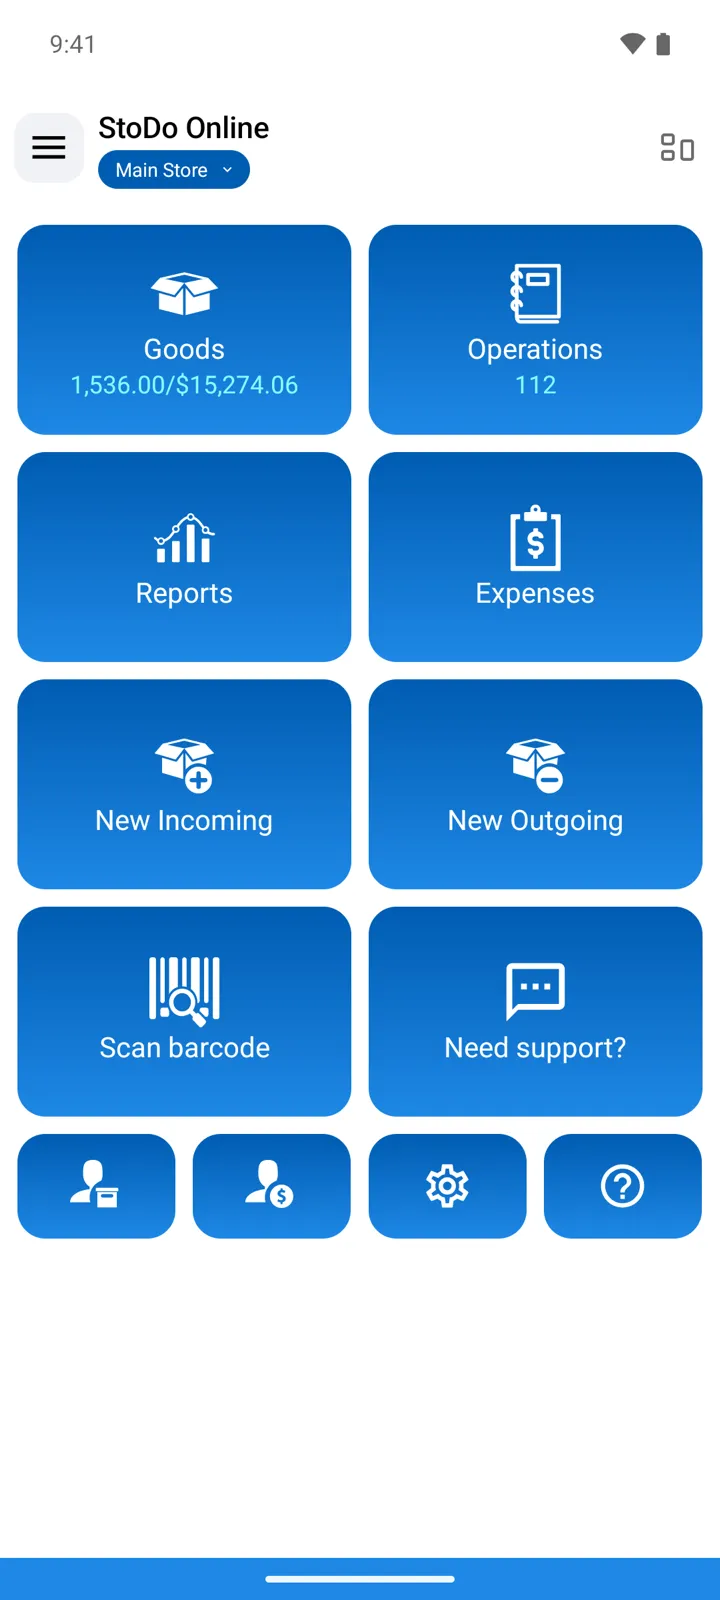
Add your first goods. On the main screen tap Goods, then the + button. Enter a Name (say, Cola 0.5 L), a Selling price, and — if the item has one — its barcode (type it or scan it). Save. Repeat for a few items; you can organize them into groups later. See Add goods to the catalog for every field.
-
Receive stock. Go back to the main screen, tap Operations, then + and choose Incoming (Receive into store). Tap the big yellow + button to open your goods list, find and tap your items (the barcode icon in the search field scans), enter the quantities you received, and save. Your stock levels now show on the Goods screen. Details: Register purchases.
-
Register your first sale. In Operations, tap + and choose Outgoing (Ship out or sell). Add the items sold the same way — the yellow + button — and save: the stock goes down and the sale is recorded at your selling prices. Details: Register sales.
-
See where you stand. The Goods screen shows the current quantity of every item. Reports shows stock movement, sales, and profit.
Good to know
Section titled “Good to know”- Stock quantities always come from operations — receive with Incoming, correct with Stock-taking. That’s what makes the reports trustworthy.
- Working with a team? Invite them and control what each person can see and do.
- Coming from a spreadsheet? You can import your catalog from Excel instead of typing it.