Getting around
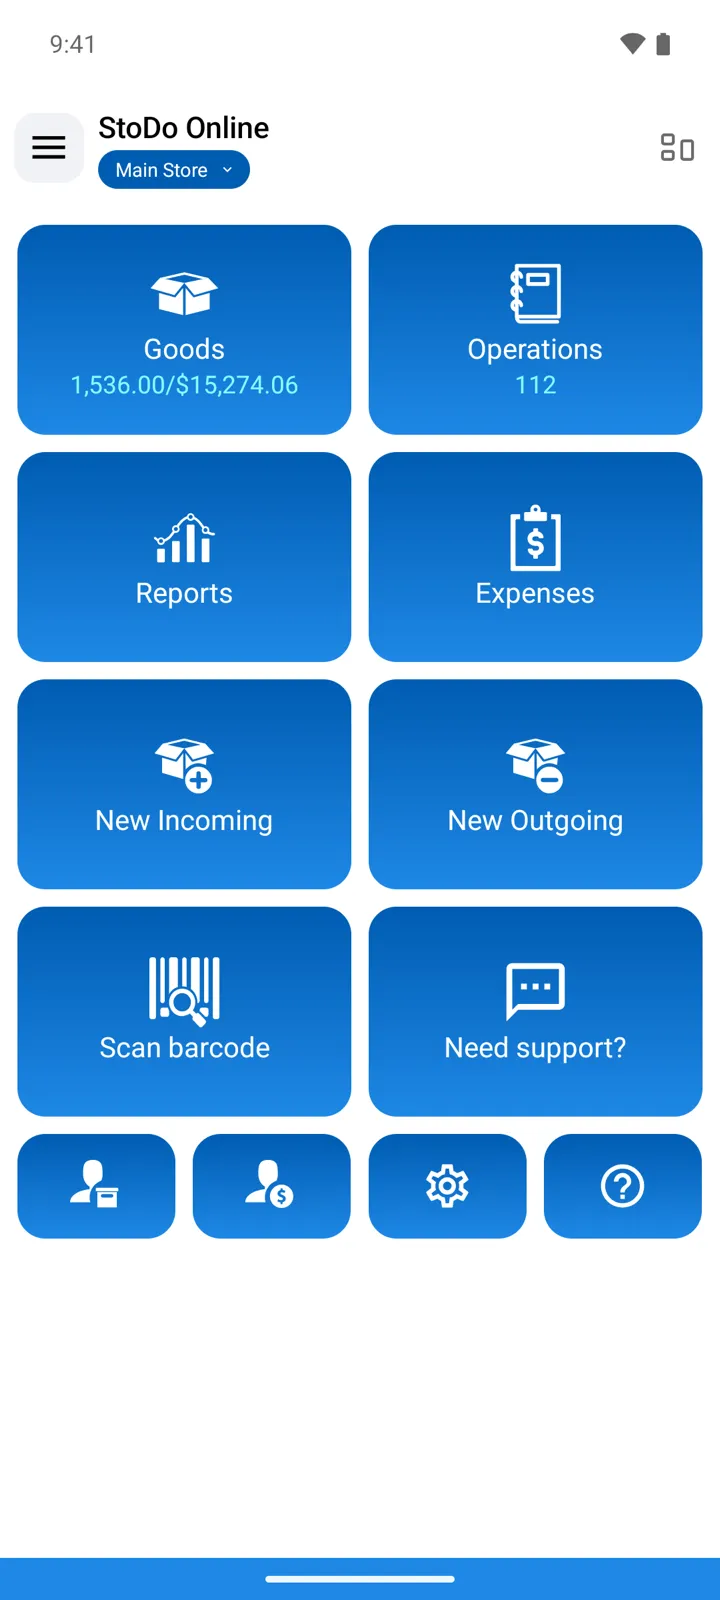
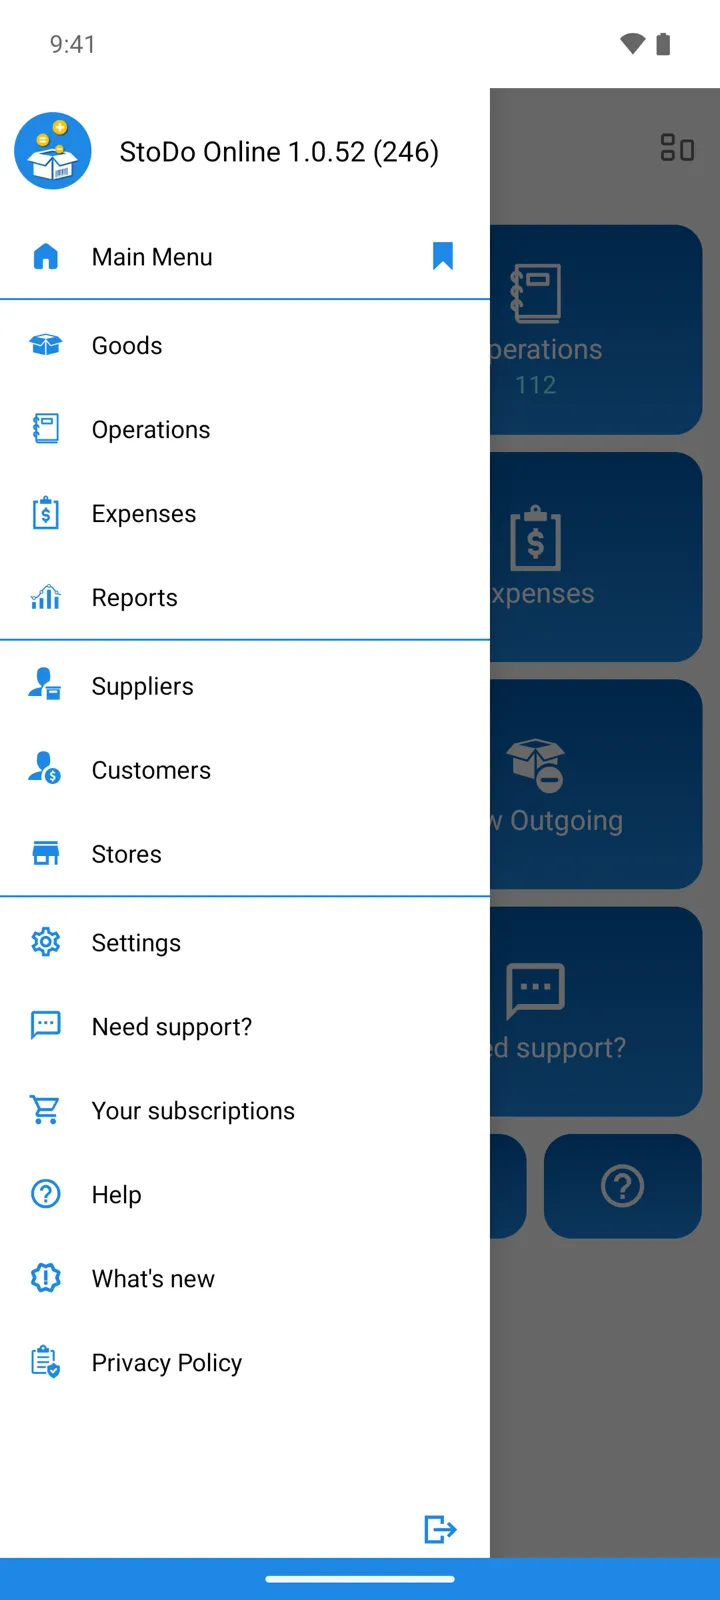
The main screen is a grid of cards — one per area of the app. Under the app title sits a colored pill with the name of the store you’re working in — tap it to switch. The same screens are also in the menu drawer (☰), together with Help, Need support?, and the changelog.
The cards
Section titled “The cards”Day-to-day work happens in four places:
- Goods — your catalog with current stock quantities.
- Operations — every stock movement: Incoming, Outgoing, Transfer, Stock-taking, orders and returns.
- Reports — stock movement, profits and losses, sales, debts.
- Expenses — costs that aren’t goods purchases.
Next to them, the default screen has one-tap shortcuts and the rest of the essentials:
- New Incoming — creates an Incoming operation (receive goods).
- New Outgoing — creates an Outgoing operation (sell or ship out).
- Scan barcode — scan to find an item.
- Suppliers and Customers — the people and companies on your operations.
- Settings, Help, and Need support? (feedback).
The menu drawer (☰) always lists every screen — including Stores, Suppliers, Customers, Your subscriptions, and What’s new — whether or not it has a card. One-tap shortcuts (New Stock-taking, New Transfer, Select store, Scan barcode) are different: they exist only as cards, so if you use one often, give it a card below.
Make it yours
Section titled “Make it yours”Tap the layout button in the top right of the main screen to open Main screen layout. Every card can show any function from the list — put New Stock-taking or Select store front and center, set a card to ”- Do not use -” to leave it empty — pick each card’s color, and choose the grid arrangement.
Searching
Section titled “Searching”Every list — goods, operations, contractors — has a search field in its top toolbar, and goods can also be found by scanning their barcode (Scan) — see Search and filter.